Integrating 3D Happy Halloween Text Style into Your Creative Workflow
Seasonal design projects often demand a balance between speed and visual impact. Whether you are a marketing manager preparing for October campaigns, a small business owner updating storefront signage, or a freelance designer handling multiple client deadlines, the pressure to produce high-quality assets quickly is real. This is where pre-designed text effects become invaluable. Specifically, the 3D Happy Halloween Text Style offers a streamlined solution for creating professional-grade typography without starting from scratch. Understanding how to integrate this resource into your existing Adobe Illustrator workflow can significantly reduce production time while maintaining a high standard of aesthetic consistency.
Understanding the Asset: Effect vs. Font
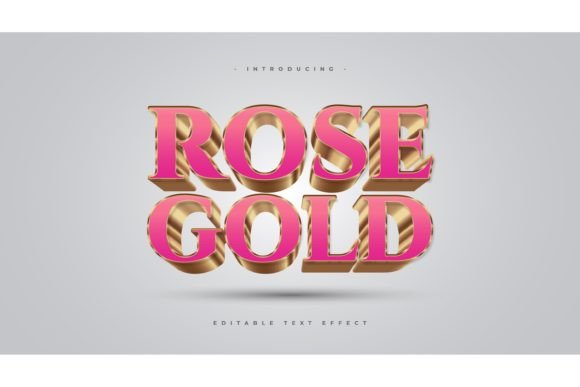
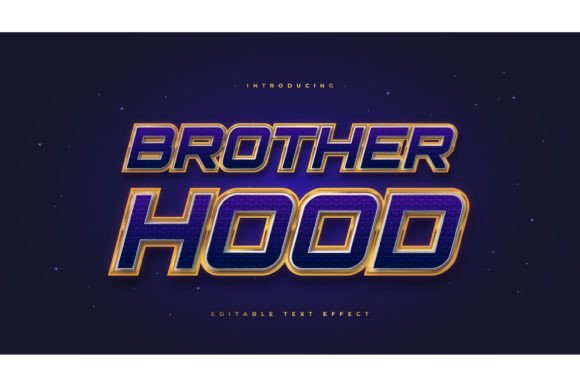
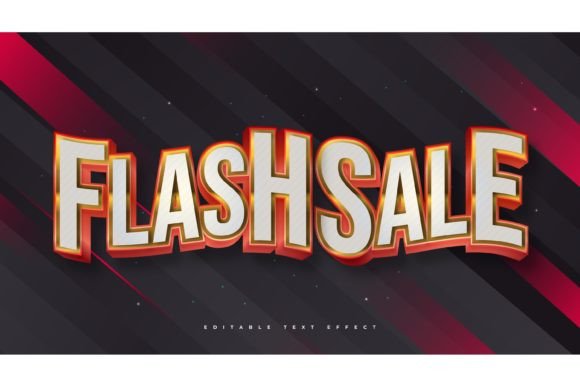
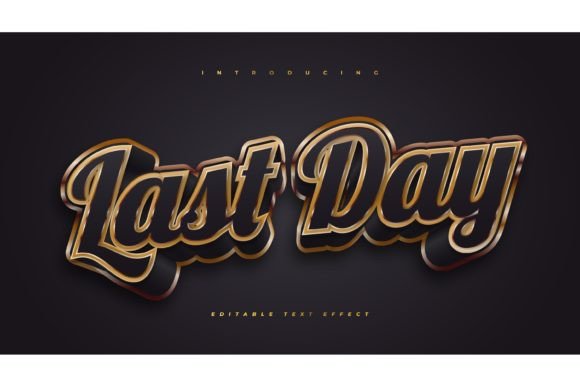
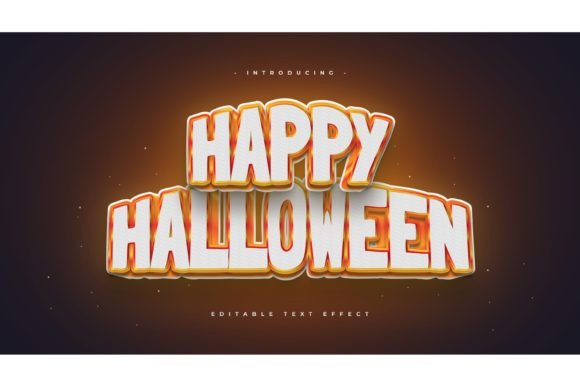
Before implementing any design asset, it is crucial to understand its technical nature. The 3D Happy Halloween Text Style is not a font file that you install on your system. Instead, it is a collection of graphic styles and effect presets designed for Adobe Illustrator. This distinction is vital for proper usage. Because it is an effect rather than a typeface, you retain complete freedom over typography. You can apply the spooky, three-dimensional look to any font family already installed on your computer, from classic serifs to modern sans-serifs or playful display fonts.
This flexibility allows for greater creative control. If a client requests a specific brand font, you do not need to search for a Halloween-themed alternative that matches their identity. You simply apply the 3D effect to their existing corporate typeface. This capability ensures that seasonal branding remains consistent with year-round visual identities, a key consideration for marketers and brand managers who prioritize long-term brand equity over temporary trends.
Preparation and Compatibility Checks
Successful integration begins with preparation. The package includes EPS files and JPG previews. The EPS format is vector-based, ensuring that your text remains crisp and scalable regardless of the output size, whether it is a social media graphic or a large-format banner. Before beginning your project, verify that your version of Adobe Illustrator is compatible with the graphic styles provided. Most modern versions support these effects, but checking system requirements prevents workflow interruptions later.
Organize your workspace before importing the assets. Create a dedicated folder for your Halloween campaign materials, including the downloaded effect files, brand guidelines, and any other graphical elements. This organizational step may seem minor, but it reduces cognitive load during the creative process. When you are ready to work, open the EPS file in Illustrator. You will see the editable text examples. These serve as both a preview of the final look and a template for your own content.
Implementation: A Step-by-Step Workflow
Using the 3D Happy Halloween Text Style is designed to be intuitive, following a "click and change" methodology. Here is how to incorporate it into a typical design task:
- Open the Template: Launch the provided EPS file in Adobe Illustrator. You will see the sample text with the 3D effect already applied.
- Select the Text Object: Use the Selection Tool to click on the text box you wish to edit. The text is live and fully editable.
- Input Your Content: Type your desired message. The package includes 100 editable words, covering common Halloween phrases and greetings. However, you are not limited to these. You can type any custom text required for your specific project.
- Adjust Typography: Since this is not a font, you can change the typeface at any stage. Highlight the text and select a different font from your library. Observe how the 3D effect adapts to the new letterforms instantly.
- Modify Size and Position: Scale the text box to fit your layout. Because the effect is vector-based, resizing does not degrade quality. Ensure the text aligns with your overall composition grid.
- Export for Use: Once satisfied, export the file in the required format. For web use, PNG or JPG is suitable. For print, PDF or EPS maintains the vector integrity.
This process eliminates the need for complex layering, manual shadow creation, or intricate 3D extrusion settings. What might take an experienced designer thirty minutes to build manually can be achieved in seconds using this preset. For freelancers billing by the hour or agencies managing tight turnarounds, this efficiency translates directly into better resource allocation.
Strategic Use Cases Across Industries
The versatility of this text style extends beyond simple greeting cards. Consider how it fits into various professional workflows:
Marketing and Social Media
Social media managers can use these assets to create cohesive campaign visuals. By applying the same 3D effect to different headlines across Instagram, Facebook, and LinkedIn posts, you create a recognizable visual thread for your Halloween promotion. The ability to quickly swap text allows for A/B testing different copy variations without redesigning the entire graphic.
E-commerce and Product Design
Small business owners selling physical products can use these designs for mockups. Apply the text to digital representations of t-shirts, mugs, or posters to visualize how the final product will look. This helps in making informed inventory decisions before committing to large print runs. The high-resolution EPS files ensure that details remain sharp even when zoomed in for close-up product shots.
Education and Community Engagement
Educators and community organizers often need engaging materials for events. Flyers, newsletters, and presentation slides benefit from visually appealing headers. Using a pre-made effect ensures that non-designers can still produce polished materials that capture attention. It lowers the barrier to entry for creating professional-looking communications.
Quality Control and Consistency
While ease of use is a major advantage, maintaining quality control is essential. When changing fonts, pay attention to legibility. Some decorative fonts may interact with the 3D effect in ways that reduce readability, especially at smaller sizes. Always preview your design at the actual output size. If the text is intended for a mobile screen, ensure the contrast between the text and background remains high.
Consistency is another critical factor. If you are using the 3D Happy Halloween Text Style across multiple deliverables, ensure that color palettes and lighting directions remain uniform. The effect likely includes specific shading and highlight parameters. Avoid mixing this style with other conflicting 3D effects in the same composition, as this can create visual clutter and confuse the viewer. Stick to one dominant stylistic approach per project to maintain a clean, professional appearance.
Long-Term Value and Asset Management
Investing in high-quality design assets like this text style pays dividends over time. Unlike a single-use template, this package offers reusability. You can save customized versions of the text effects for future campaigns. For instance, if you find a particular font combination works well for your brand, save that specific setup as a new graphic style in your Illustrator library. This builds a personalized toolkit that accelerates future projects.
Furthermore, understanding how to manipulate these effects enhances your overall design skills. By deconstructing how the 3D look is achieved—observing the layers, gradients, and shadows—you gain insights that can be applied to custom designs later. It serves as both a practical tool and a learning resource.
Final Thoughts on Integration
Incorporating the 3D Happy Halloween Text Style into your workflow is about more than just saving time; it is about enhancing your creative capacity. By removing the technical hurdles of creating complex text effects, you free up mental energy to focus on strategy, messaging, and overall composition. Whether you are a seasoned designer looking to streamline repetitive tasks or a business owner aiming for professional results, this tool offers a practical, efficient solution. Remember to plan ahead, check compatibility, and maintain consistency to get the most out of this versatile asset. With proper implementation, it becomes a seamless part of your creative process, delivering high-impact visuals with minimal effort.